

Today I posted this photo of my clam shells.
There were a few questions so I thought I would make time for a blog post.
I started this project after visiting a quilt exhibit at the Victoria and Albert Museum in London. A set of clam shell bed hangings caught my attention. You know how that goes? A new project was born.
I had templates sent to the temporary house and quickly found the local quilt shops. I even bought extra templates to lead my friend astray as well!
I decided on a charm, because more is more!
My rows alternate light and dark ever so subtlety.
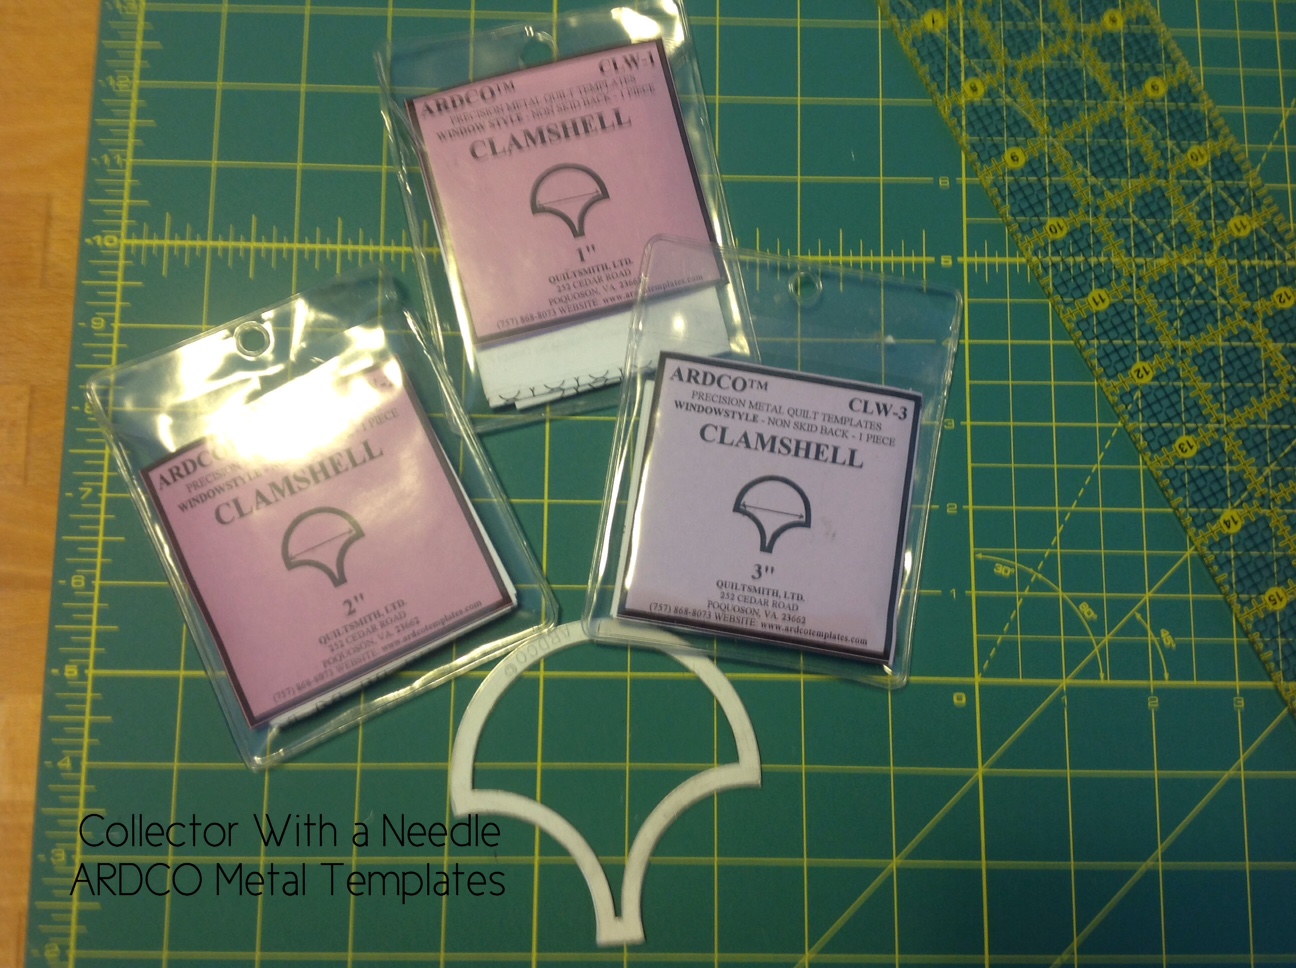
Any template works, don't switch brands in the middle! Check the Length and Width. This is true of piecing papers as well.

I used a header strip to start, it is slightly wider than I wanted the quilt.
The first row of clams has a short side seam.
The first row is basted on the muslin creating the start of the rows. Later the basting threads and muslin will be removed.
Enlarge the photo to see the notes.
(BTW - That brown and pink print is one of the V&A prints sold at the exhibit)

It is a great pick up project because you can add a clam at a time. It allows for quick starts and stops, if needed. I think I timed myself once and it took about 45 minutes to add a row.
I am not embarrassed to show you my stitches.
I think I am better every year. If anything I might have too many stitches per inch. These clams measure 3" across when finished.
They look hand pieced, and really are, in a needle turn kind of way.

The sides will be trimmed once I am ready for a border or binding once I decide. Be careful with these, this is a lot of bias.
There are two lights complete.
The third light clam at the bottom is just started.
For a while I was short on lights. Made me wish I hadn't don't the light and dark rows. Also, being a charm I always "needed" new fabric.

Find the center of the cut out clam. This is A, the place the previous clams meet. Turn it under your seam allowance and pin.
Next I do the two ends: B & C.
(I am using small appliqué pins I keep in a finger pin cushion)
Continue pinning D, E, F as needed.
Needle turn and stitch across the top of the clam.
I like to use a neutral thread and keep going adding clams. No need to start and stop.
I hope this was helpful!
There is no wrong way, stitch the way you find comfortable.
Enjoy,
Dawn
PS
My clams will be about 60 x 80 before border or binding